Visual Studio Code development#
In this document, we show how to develop trading strategies using Visual Studio Code.
Preface#
Visual Studio Code is free and popular editor from Microsoft for developing Jupyter Notebooks.
Using Visual Studio Code is recommended for development on your local laptop, unless you know any other favorite Jupyter Notebook editors.
Prerequisites#
Prerequisites for developing trading strategies with Visual Studio Code are:
Python programming basics
Command line usage basics
Install Visual Studio Code, git, and Python locally
You have read the backtest template notebook with its instructions
Note
These instructions currently work 1:1 for macOS and Linux systems only. Microsoft Windows based installations need additional tools like Microsoft Visual Studio installed and are not yet covered in these instructions.
Install git#
While the software is in beta, git command must be installed,
as we are using it to download code from Github.
Install Python#
Python 3.10 or higher version is needed.
Installing Visual Studio Code#
Download and install Visual Studio Code.
Start Visual Studio Code.
Install Python extension through Extensions view inside Visual Studio Code.
Install Jupyter extension through Extensions view inside Visual Studio Code.

Testing Python#
In Visual Studio Code, open the terminal (Terminal > New terminal)
Check that your Python installation is configured
python3
Should print
Python 3.9.12 (main, Mar 26 2022, 15:44:31)
[Clang 13.1.6 (clang-1316.0.21.2)] on darwin
Type "help", "copyright", "credits" or "license" for more information.
Use CTRL+D to exit.
Then try git commad on command line:
git
Should print
usage: git [--version] [--help] [-C <path>] [-c <name>=<value>]
Now install Poetry command needed for the project installation:
curl -sSL https://install.python-poetry.org | python3 -
Creating Python environment#
Create an empty folder where you will place your backtesting workspace files.
Start Visual Studio Code. Go to File > Open folder and choose your newly created folder.
Open a terminal inside Visual Studio Code: Terminal > New Terminal.
Now we need to check out the source code tree using git to your workspace folder:
git clone https://github.com/tradingstrategy-ai/trade-executor.git
Then we set up Python environment with trade-executor package installed:
cd trade-executor
git submodule update --init --recursive
poetry shell
poetry install
This should output:
Installing the current project: trade-executor (0.1.0)
Now Poetry has created a new Python environment with required packages for you.
You can find the Python environment python command location on your hard drive with the following command:
poetry env info
This should output your Virtualenv where the Python packages are installed.
Virtualenv
Python:         3.9.12
Implementation: CPython
Path:           /Users/moo/Library/Caches/pypoetry/virtualenvs/trading-strategy-docs-jBbc2tTM-py3.9
Valid:          True
Your Python intepreter path is the above path plus added /bin/python.
E.g. in the above case this is:
/Users/moo/Library/Caches/pypoetry/virtualenvs/trade-executor-49eyUR2P-py3.9/bin/python
You can test that Poetry installation works by running your Python interpreter now. Copy-paste the full Python interpreter path to your Visual Studio Code terminal. You will also need this path of the command later:
/Users/moo/Library/Caches/pypoetry/virtualenvs/trade-executor-49eyUR2P-py3.9/bin/python
Then in Python prompt running:
import tradeexecutor
… should not give any errors.
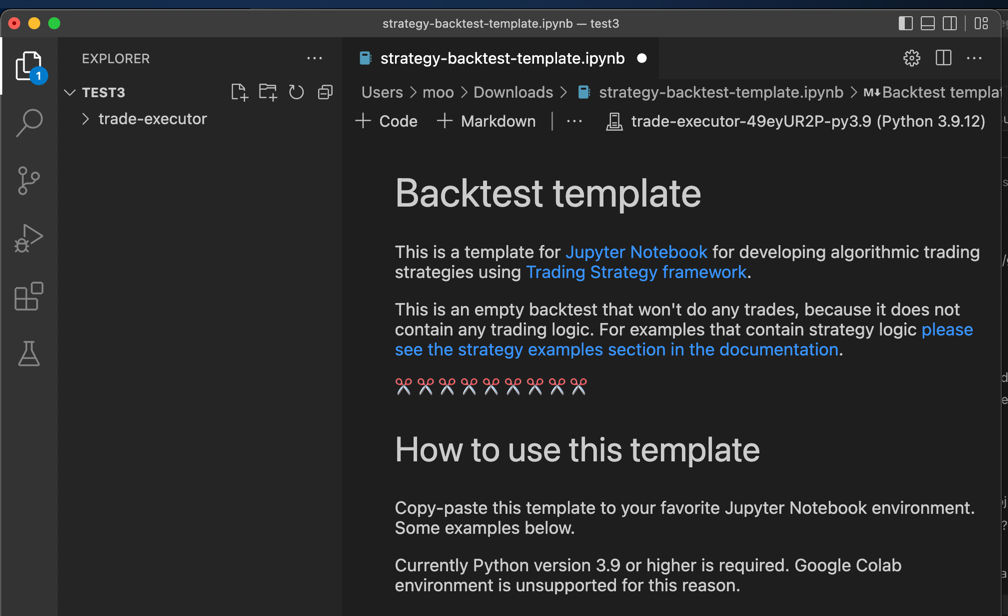
Download strategy backtesting template#
Download the template Jupyter Notebook from Github.
Save it in your workspace folder.
Open the notebook#
Use File… Open to open the template in Visual Studio Code.
Adding Python environment to Visual Studio Code#
In Visual Studio Code, we need to tell the Visual Studio Code what Python environment to use for running the notebook.
Choose View > Command palette.
Type in to search for the command Python: Select interpreter.
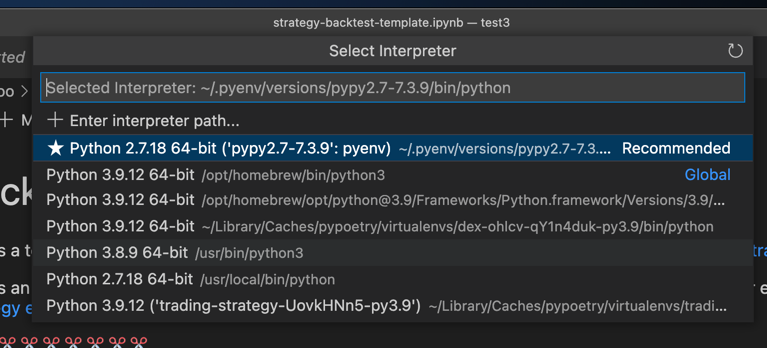
Choose Enter interpreter path.
Copy-paste the Virtualenv path from poetry env output you did earlier.
For more information, see configuring enviroments in Visual Studio Code and Python documentation by Microsoft.
Run#
Press Run all to execute the template notebook.
It will prompt you to choose a Python environment. Choose the one we just added.
Visual Studio Code should ask for the Trading Strategy API key on the first run
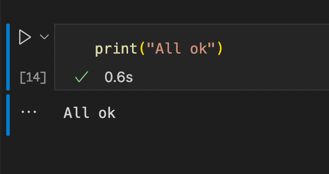
The run should complete with a checkmark on the last notebook cell
Troubleshooting#
If you get an error:
ModuleNotFoundError: No module named 'tradeexecutor'
It means Visual Studio Code is not picking the Python environment where we installed
the trade-executor package.
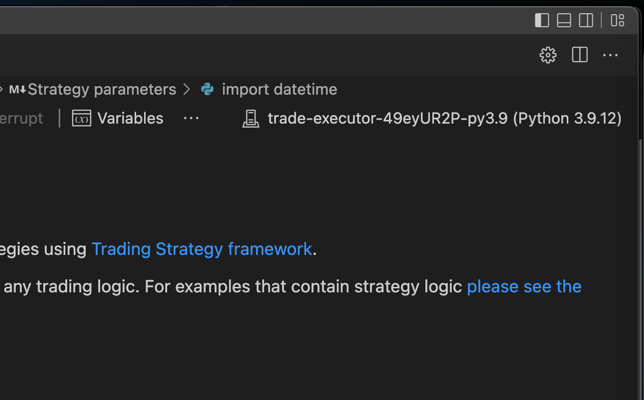
Make sure that Visual Studio code is displaying the correct Python interpreter in the top right corner: